Transforming your home through DIY projects can be incredibly rewarding. But before you dive in, prioritize safety to ensure a stress-free and healthy experience. Paint removal, in particular, can harbor hidden hazards. This guide equips you with the knowledge to tackle your project with confidence, putting safety first from start to finish.
Understanding the Risks
- Volatile Organic Compounds (VOCs): These fumes arise from paint strippers, causing eye, nose, and throat irritation. In severe cases, headaches and dizziness can occur.
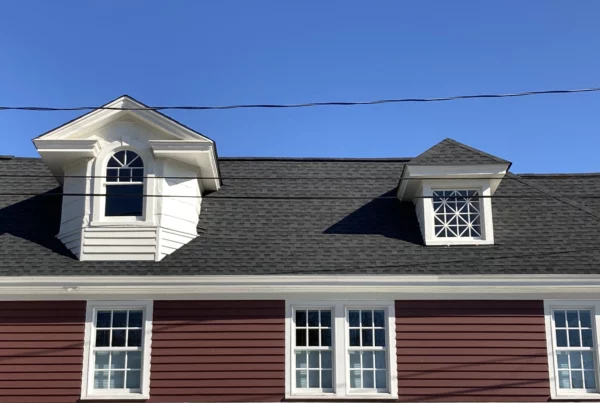
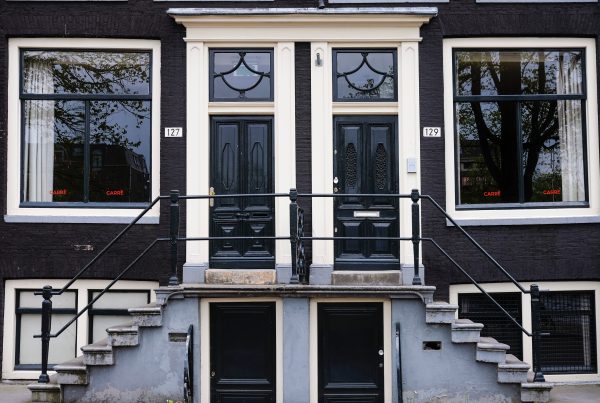
- Lead Paint: Exposure, especially for children, is highly hazardous. If your home was built before 1978, get it tested for lead paint before starting any removal.
- Asbestos: This carcinogenic material might be present in older homes. Inhaling asbestos fibers can lead to serious lung diseases.
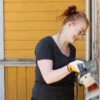
Equipping Yourself for Safe Paint Removal: Gear Up for Success
Safety gear is your frontline defense. Invest in a comprehensive kit to protect yourself throughout the project:
- Respirator: Your primary defense against harmful fumes and dust particles. Choose one with filters appropriate for the paint you’re removing.
- Eye Protection: Safety glasses or goggles shield your eyes from paint splatter and dust.
- Skin Protection: Wear long-sleeved clothing and protective gloves to prevent skin contact.
- Work Boots: Sturdy, closed-toe shoes with good traction minimize slips and falls, especially when working on ladders.
- Head Protection (Optional): Consider a hard hat for overhead work to protect yourself from falling debris.
Safety Practices: The Essentials for a Smooth Project
- Proper Ventilation is Key: Always work in a well-ventilated area. Open windows and use fans to create air circulation and remove hazardous fumes.
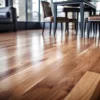
- Drop Cloths: Lay down Ram Board or a similar heavy-duty paper drop cloth to shield floors and countertops from paint drips and spills.
- Work Clean: Regularly clean up spills and debris to prevent the spread of hazardous materials.
- HEPA Vacuums: Cleaning Up the Right Way. Once you’ve finished removing the paint, thoroughly clean the area to remove lingering dust and debris. This is where a HEPA vacuum cleaner comes in:
- HEPA stands for High-Efficiency Particulate Air. These vacuums are specifically designed to capture microscopic particles, making them ideal for cleaning up after paint removal. Look for a HEPA vacuum with a filter efficiency rating of 99.97% at 0.3 microns.
- Disposing of Waste Responsibly. Never dispose of paint, paint strippers, or other chemicals in your regular trash. Follow local regulations for proper disposal.
Lead and Asbestos: When to Call in the Professionals
If you suspect the presence of lead paint or asbestos, stop work immediately. These materials require specialized removal techniques to ensure your safety and prevent environmental contamination. Consult with a certified professional for safe and proper removal.
Creating a Clean and Contained Work Area
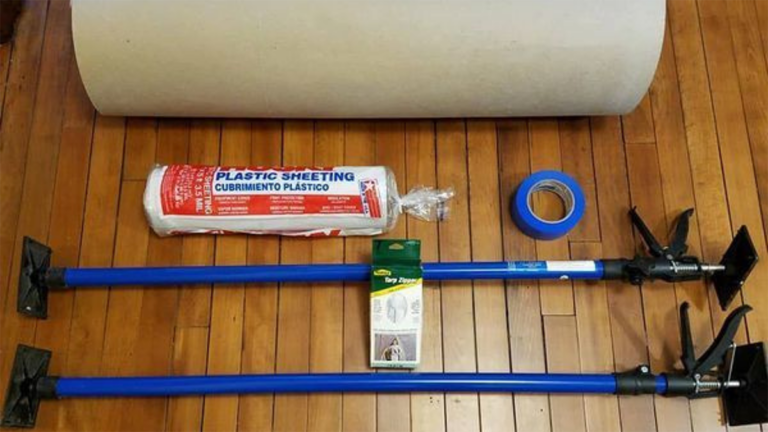
1. Gather Your Work Area Containment Kit:
- Ram Board: Protects floors and countertops from water, stains, and solvents.
- Plastic Sheeting: The backbone of your containment area, used to enclose the space and trap dust. Opt for 3.5 Mil thickness for effective dust control.
- Tape: Secures plastic sheeting and Ram Board, ensuring everything stays in place. Consider easy-release tape for effortless removal.
- Support Poles (Optional): For larger areas, use 2-in-1 Cargo/Support Poles to create a framework for your plastic walls.
- Zip Wall Zipper Door (Optional): Offers convenient access without compromising the seal.
2. Protecting Your Floors:
Start by laying down Ram Board on your floors and baseboards. This heavy-duty paper drop cloth shields surfaces from potential damage. Secure it with easy-release tape for easy removal without leaving sticky residues.
3. Installing Support Poles (Optional):
For larger containment areas, use 2-in-1 Cargo/Support Poles to create a framework for your plastic sheeting. These adjustable poles are readily available at hardware stores and offer easy setup.
5. Quarantining a Room with a Door:
If quarantining a room, first cover the doorway with plastic sheeting. Then, install a Zip Wall Zipper Door. This allows access without disturbing the seal.
Conclusion: A Safe and Rewarding DIY Experience
By prioritizing safety and using proper Personal Protective Equipment (PPE), you can embark on your DIY paint removal project with confidence. Remember, a little preparation goes a long way in protecting yourself and your loved ones. Now that you’re well-equipped, you’re ready to tackle your project and enjoy the satisfaction of a job well done!
For an efficient and effective paint removal experience, look no further than our online inventory of Speedheater infrared paint remover tools. Whether you’re tackling interior or exterior projects, the powerful IR heater makes it fast and efficient to soften and remove paint from wood surfaces. Don’t let paint removal slow you down—check out our selection today!
*Work Containment Photo Credit: Chris Hewett – My Old House Fix